Showing posts with label tutorial. Show all posts

Monday, November 8, 2010

Wall Hanging


Alisha @ AJ's Bowtique created a Wall Hanging using my Thanksgiving Subway Art!! She is amazing! I am sooo psyched that she chose to use MY design!!

She posted a tutorial, and it turns out you need a reversed image so she asked if I could upload one, and of course I can! Click HERE to download the reversed image!

If you just want the normal download of the Thanksgiving Subway Art Click HERE

Give Thanks Tree

I want to start this post off by saying that these pics are really off. This project looks sooo much better in person, and much more fall-ish. I'll show you a pic with the flash and without so you can see how much different it looks in each picture....


With Flash


Without Flash

I Love Thanksgiving but it is usually just about being with family and all the food to us, and this year I want it to be more about what we are thankful for and focus on all that we have. I wanted to incorporate writing what we are thankful for on leaves somehow and have thought of all sorts of ideas like a garland, a thankful jar, but then I decided to do a Thankful Tree. There are millions of ideas floating around but none really fit what I had in mind. Then I remembered how my friend Erika @ Opps I craft my pants made a flower out of Paint Swatches from Home Depot. (Seriously, She is Amazzzinggg!) Then, I saw the Fall Tree that Robyn @ Something Pretty made... perfectttt.

It's pretty easy, first go to Home Depot and take an embarrassing amount of Paint Swatches.
When you get home paint a board your desired color, I decided on a light tan color.
After it dries, using a pencil draw a Tree with branches, once you are satisfied with how it looks color in with a brown sharpie.
After that I decided that the leaves were too big so I decided to cut them down.
Arrange the leaves however you like.
I also added the Words "Give Thanks" using scrapbooking letters, and added a little bit of scrapbooking paper on the bottom.


I glued the leaves on with my glue gun.


Sometime this week when my husband and I have time we are going to write what we are thankful for on each leaf. It will be a great reminder throughout the month.

The best part of this Craft is it only cost me $7 dollars total. All I bought was the scrapbook paper for the bottom, the scrapbook letters, and the board.

Tuesday, October 26, 2010

Interchangable Platter

I am in one of those families that does everything together for each holiday, and we always have treats. Lots of treats. I am not the type of person to just bring treats on a normal plate.. its all about presentation people. I love platters and trays, but I have a hard time finding cheap ones that I like. Not only that but I don't have a ton of space to be storing a million platters for each holiday.

A few weeks ago my friend brought us over some delicious cupcakes and they were on this white platter. I tried to return it back to her but she said to keep it. I knew that I would be using this for a Halloween party coming up. I've been racking my brain of how to make it cuter, because white just isn't cute enough for me. Then today it hit me, helloooo scrapbook paper!

And I just happened to have the cutest Halloween Paper ever. Have you seen the K&Co Halloween Paper Pack? I actually don't have this one, I bought mine at Target that has less paper.. but who needs 36 pieces of Halloween paper?
So here's my platter and the paper I chose.

The directions are pretty simple:
1. Pick paper
2. Trace the platter
3. Make sure it fits

Cute huh, but I bet you are thinking, Yeah that's great but what happens when you get something on it or it gets wet?

Well that's when this stuff comes in handy,

This is probably one of my most favorite crafting item. I have used it on so many projects as "laminating". Its cheap too, less than $5 at walmart, and it lasts foreverrrr. It's located with all the other shelf liners if you're interested. Now lets continue on with the directions:

4. Cut Transparent stuff to the right size.

5. Peel it apart from the backing and lay it on the counter, sticky side up. Lay paper on top, make it as smooth as you can.

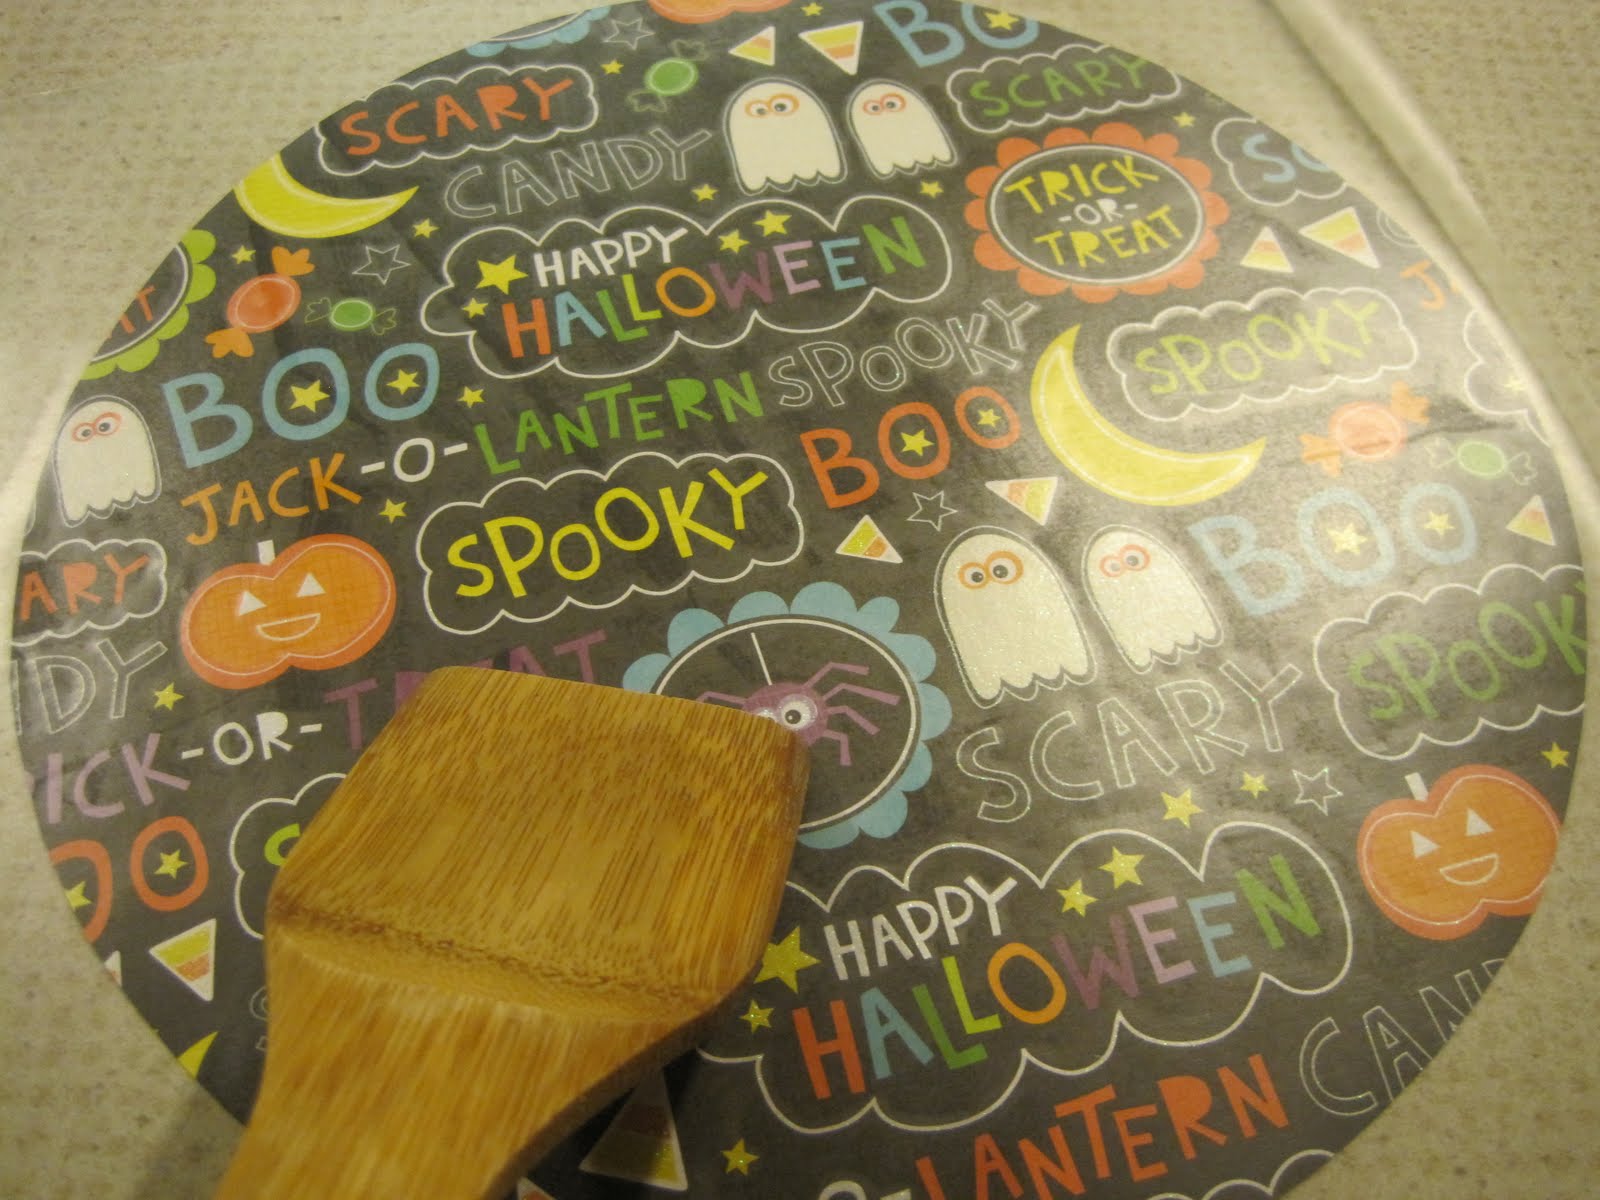
6. Now you want to find something that you can use to smooth it out as much as you can. One of those vinyl things would be perfect, but I was too lazy to find mine. I just used a wooden spoon. Something plastic probably would have been better. Then cut off the extra transparent stuff.
7. Now you will just want to put a little bit of glue on the back of the paper to make it stick to the platter, but don't put too much otherwise it might be hard to get out, and you don't want to rip the paper.

8. Make more for upcoming holidays/seasons.
Fall/Thanksgiving
Winter
Birthday
Christmas
One's I still need to make: Valentines Day, St. Patricks Day, Easter, Spring, 4th of July, Summer.


This is the perfect gift for anyone, but especially newlyweds. You can help them be festive and not take up a lot of space.

Which one is your favorite?

Ps. This particular platter came from Ikea.

Monday, October 11, 2010

Book of Spells


One day my Hubby and I were at DI (Thrift Store) in line checking out, and there was a stack of books on a table. I was browsing through and saw this old textbook that was old and crappy, the pages were tan colored, right away I thought I could make a spell book! This was back in the beginning of September so I've put it off. Now that its the middle of October I finally made time to do it, I love how it turned out!

Supplies:

- Old Book
- Black Ink Pad
- Glue Stick
- Sandpaper (not pictured)

There is no rhyme or reason to this project. I just tore the edges to my hearts content. Originally I wanted to burn the edges but my hubby gave me a big-fat-no on that one, he said he didn't trust me burning things inside of the house, after giving him the glare, I agreed that hes probably right. (Probably... but we will never know now will we?)

After tearing all the pages this is what I had on my floor....

After that, ink the pages... I just went with it. I totally killed my ink pad in the process :(

When I was done with that it still didn't look as roughed up and old as I wanted, so I grabbed some sandpaper and roughed it up a little.

I made the cover on photoshop and then printed it off at home. I just cut it out and glued it on.


Best part, this only cost me $2 to make!!

PS... Please notice how cute the spider is, my hubby didnt even notice it till I pointed it out. Its my favorite part!

Monday, October 4, 2010

Dollar Store Hurricane Vase


What can you make out of these 2 things? A hurricane vase!

All you need is 1 glass candlestick and 1 vase from Dollar Tree.

Use a gluegun to glue the candlestick onto the vase, everyone says you should use a stronger glue but I didn't feel like buying a special kind of glue and a glue gun worked just fine!

I love this because you can change whats inside the vase for each season. Here's what I have on my table for Halloween:
Everything in/on the vase came from the dollar store, except for the candycorn.
- Tall Jesus Candle (The Sticker comes off really easy)
- Thick Satin Orange Ribbon
- Thinner Yellow Ribbon
(Dollar Tree sells really nice ribbon now, in all different colors!)

I just glued the yellow ribbon onto the orange with a gluestick.

This was about $6 to make. I love dollar store crafts!
Related Posts Plugin for WordPress, Blogger...