I am in one of those families that does everything together for each holiday, and we always have treats. Lots of treats. I am not the type of person to just bring treats on a normal plate.. its all about presentation people. I love platters and trays, but I have a hard time finding cheap ones that I like. Not only that but I don't have a ton of space to be storing a million platters for each holiday.
A few weeks ago my friend brought us over some delicious cupcakes and they were on this white platter. I tried to return it back to her but she said to keep it. I knew that I would be using this for a Halloween party coming up. I've been racking my brain of how to make it cuter, because white just isn't cute enough for me. Then today it hit me, helloooo scrapbook paper!
And I just happened to have the cutest Halloween Paper ever. Have you seen the K&Co Halloween Paper Pack? I actually don't have this one, I bought mine at Target that has less paper.. but who needs 36 pieces of Halloween paper?

So here's my platter and the paper I chose.

The directions are pretty simple:
1. Pick paper
2. Trace the platter
3. Make sure it fits

Cute huh, but I bet you are thinking, Yeah that's great but what happens when you get something on it or it gets wet?
Well that's when this stuff comes in handy,

This is probably one of my most favorite crafting item. I have used it on so many projects as "laminating". Its cheap too, less than $5 at walmart, and it lasts foreverrrr. It's located with all the other shelf liners if you're interested. Now lets continue on with the directions:
4. Cut Transparent stuff to the right size.

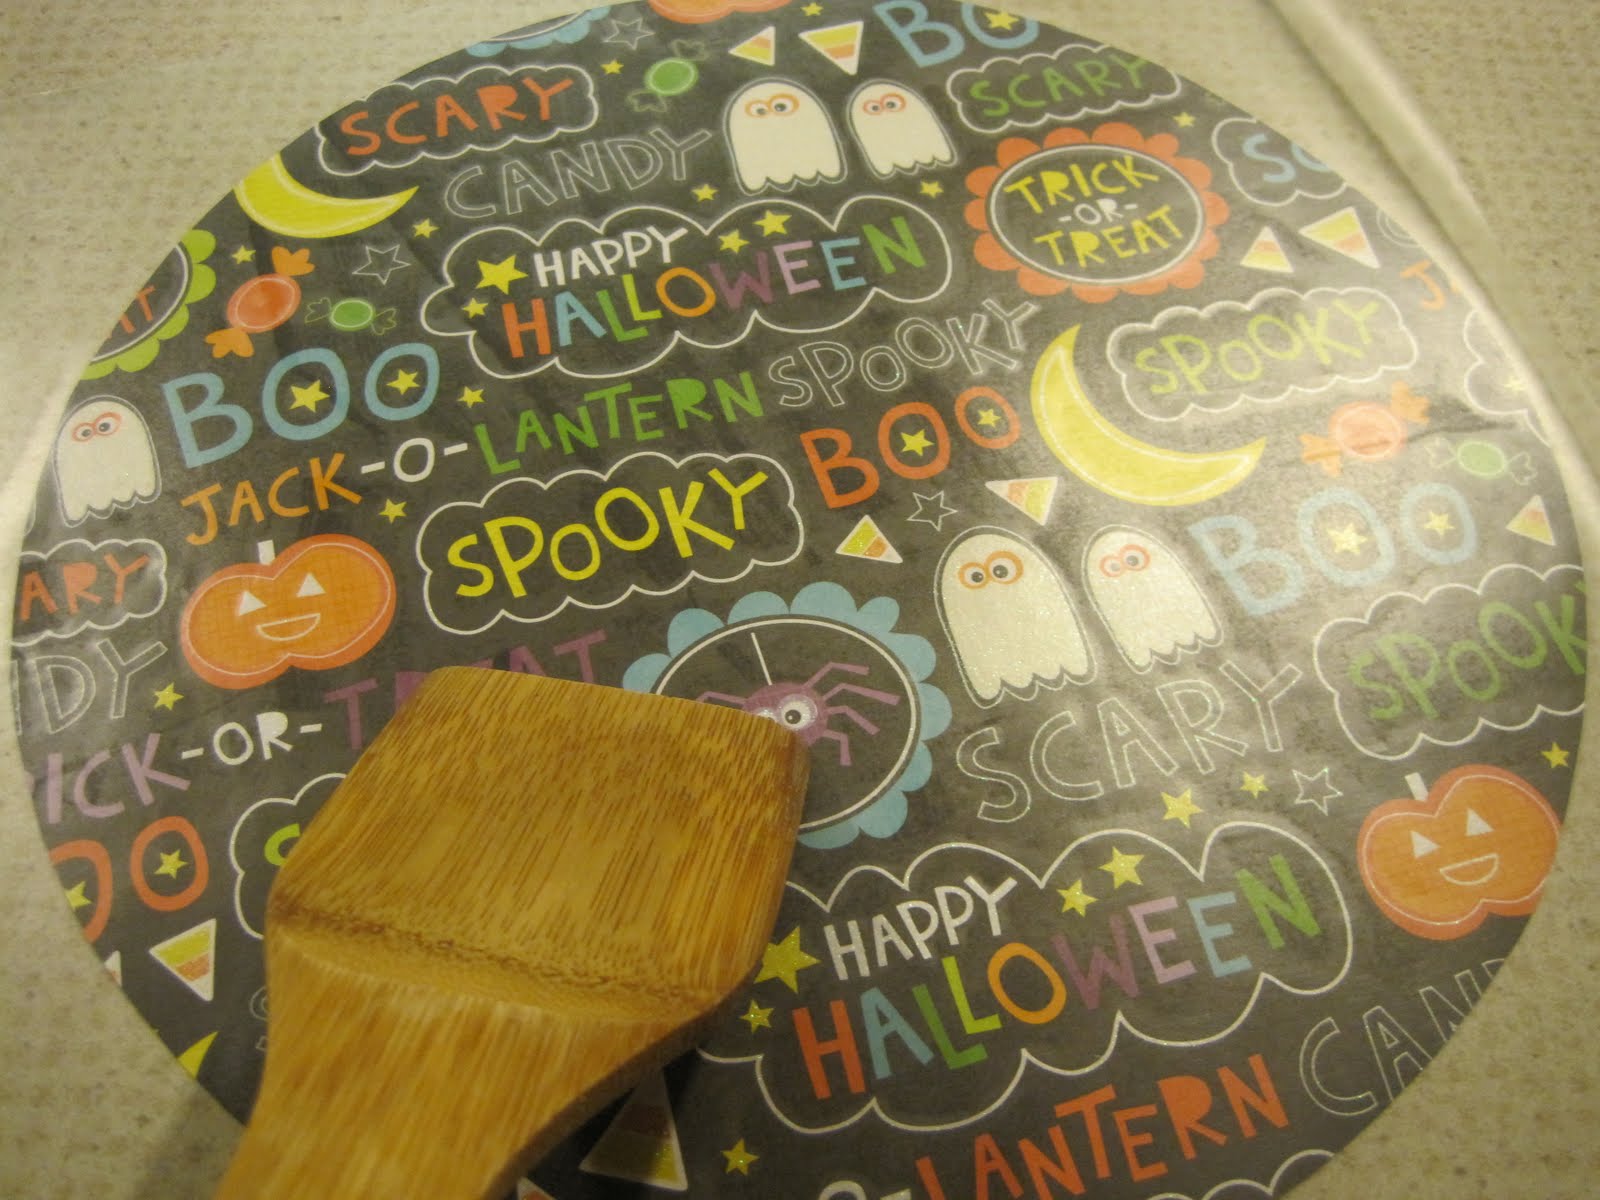
5. Peel it apart from the backing and lay it on the counter, sticky side up. Lay paper on top, make it as smooth as you can.


6. Now you want to find something that you can use to smooth it out as much as you can. One of those vinyl things would be perfect, but I was too lazy to find mine. I just used a wooden spoon. Something plastic probably would have been better. Then cut off the extra transparent stuff.
7. Now you will just want to put a little bit of glue on the back of the paper to make it stick to the platter, but don't put too much otherwise it might be hard to get out, and you don't want to rip the paper.

8. Make more for upcoming holidays/seasons.
Fall/Thanksgiving

Winter

Birthday

Christmas

One's I still need to make: Valentines Day, St. Patricks Day, Easter, Spring, 4th of July, Summer.
This is the perfect gift for anyone, but especially newlyweds. You can help them be festive and not take up a lot of space.
Which one is your favorite?
Ps. This particular platter came from Ikea.

 (This picture is over a year old! I'm too lazy to get up and take a pic of them.)